How to make bike charger for your IPod
Well, the idea was very simple… take my hand crank charger I made earlier…
…connect it to a bike-dynamo
and tada! we should be there… That’s how I thought about this last
weekend and that’s what I did… 🙂
…so… wiring up the dynamo…
…connect it to the internals of my hand-crank-flashlight… (oh, and put everything in a static bag :-))
..and start biking! wow, this is looking good, a charge light!
…and I’ll be damned! this all seems to work, woohoo!
So
then, this is the How-to? Well, if you will… the rest of it is more of
a personal journal of how I ended up with my bike-charger, things I ran
into etcetera… I’m pretty sure there’s useful information in there if
you’re into making such a charger yourself, but a lot of the things I
did from this point on is, well, how I liked it best, not necessarily
how I thought anyone else would like it, that’s all 🙂 Let’s get on
with it!
Of course I thought of an altoids-tin to put this project into… but, I never come across them somehow…
I did come across this old project of mine, iNO and somehow, when I thought about it for a while, I decided this would be it… I’m gonna mod this charger into an old ADB-mouse!
So, I got pretty much the same
parts as I did for making the cable which connected my hand-crank
charger to my ipod… (that’s a USB-extension-cable, a 100 ohm resistor,
a 5.1V zenerdiode and a normal diode)

Righty, first tests of fitting this inside the mouse…
..and Dremel-ing a space for the USB-connector…
…covering up the hole (cause we don’t want any electronics to drop out, now do we?) 🙂
…and I drilled a small hole for the charge-light, cause that’s such a neat feature, I want to keep that!
…my kitchen-table somewhere in this process…

…and then… it seemed the
overall idea still was possible but I ran into all small problems… like
a capacitor which was too high…

…or a PCB which got in the way of one of the little holes to close the mouse again…

…yet another test to see how we’re doing…
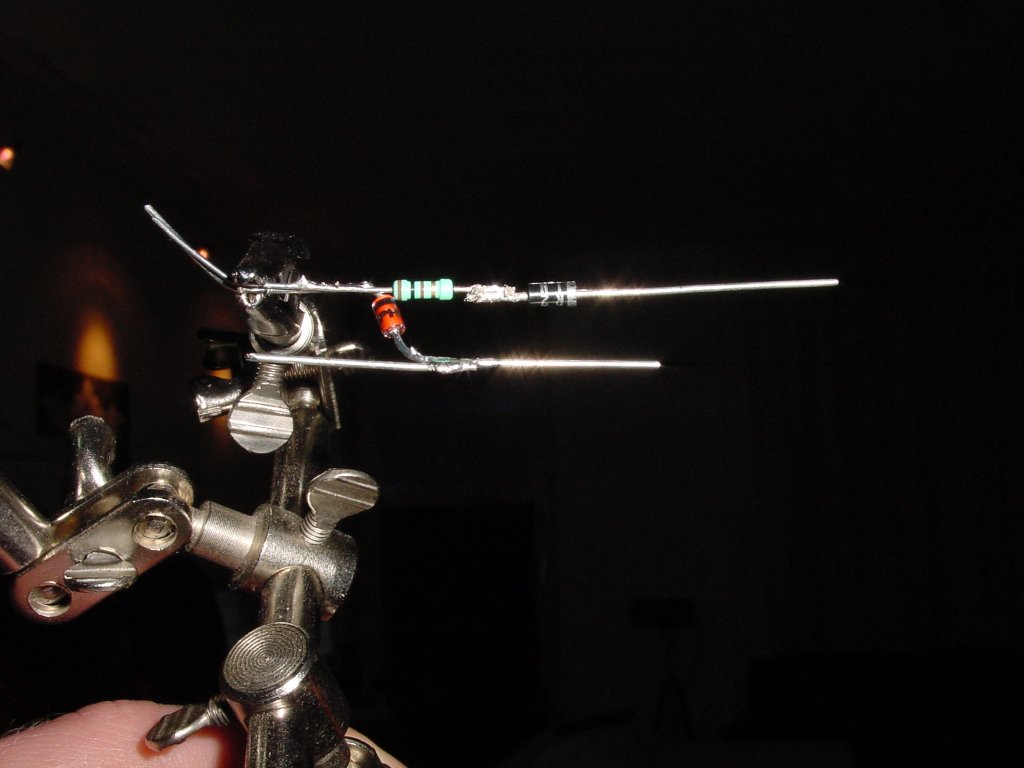
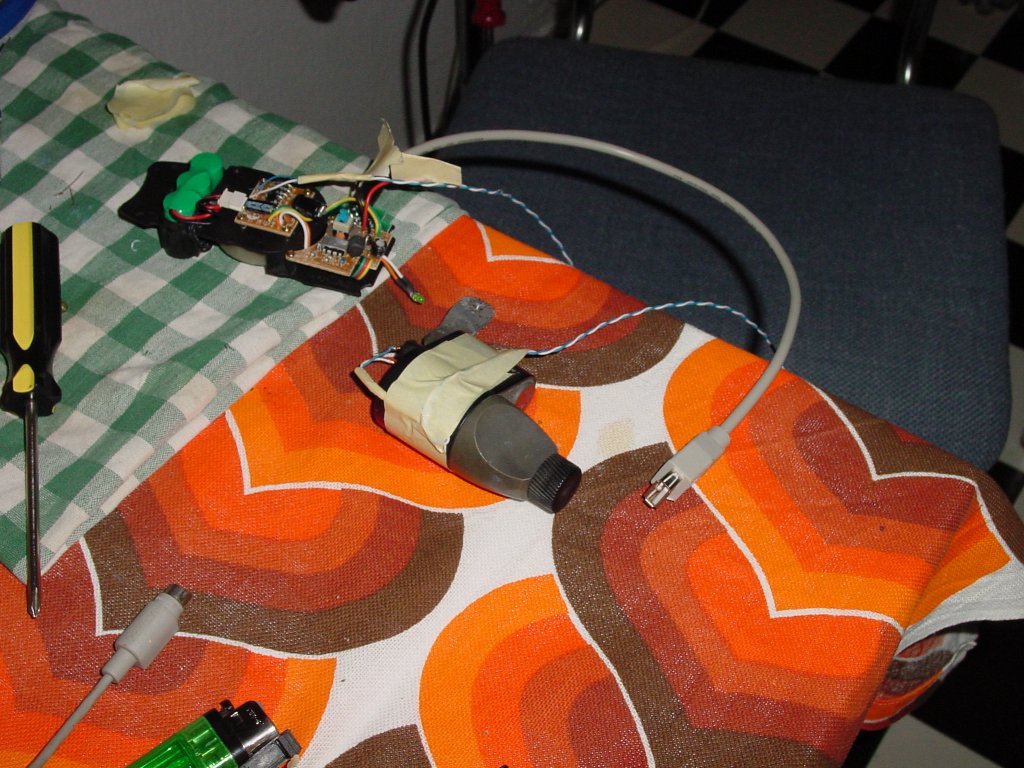
…and the DIY-part of these electronics… the logic which should take care of making sure the ipod doesn’t get anything
above 5 volts… (and a normal diode for making sure the ipod isn’t
charging the charger instead of vice versa…)
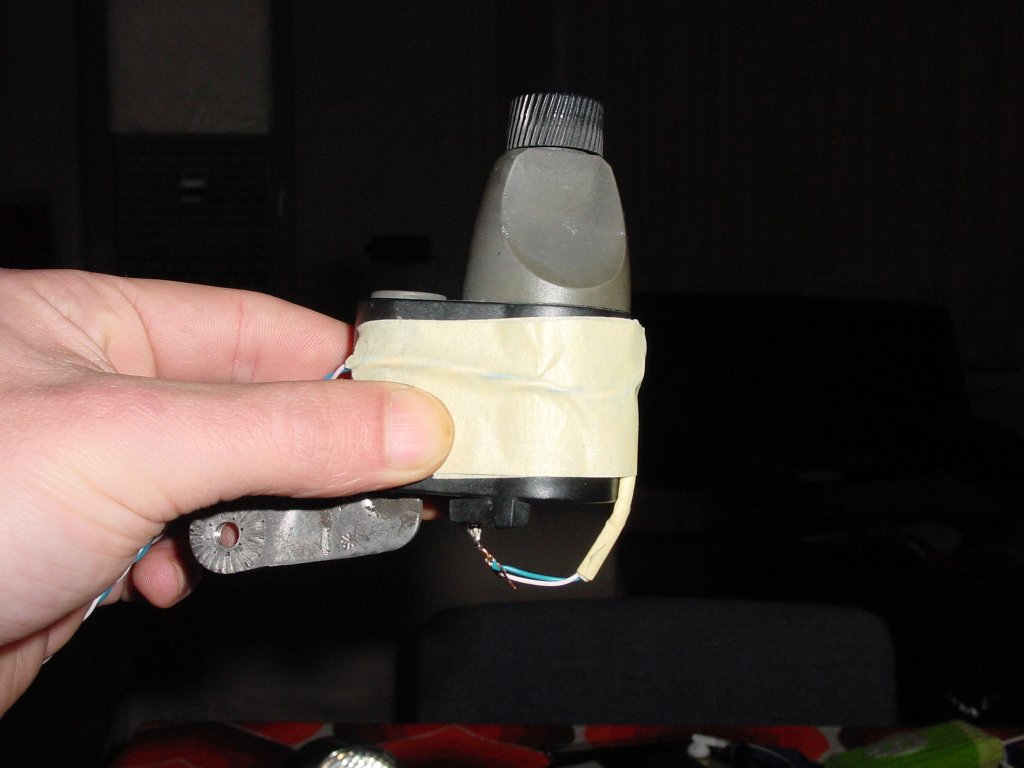
…so… now it looks like this!
(I always use papertape, a lot… for making sure things don’t shortcut
etc… you may criticize this, but this is how I work, for years already
:-))
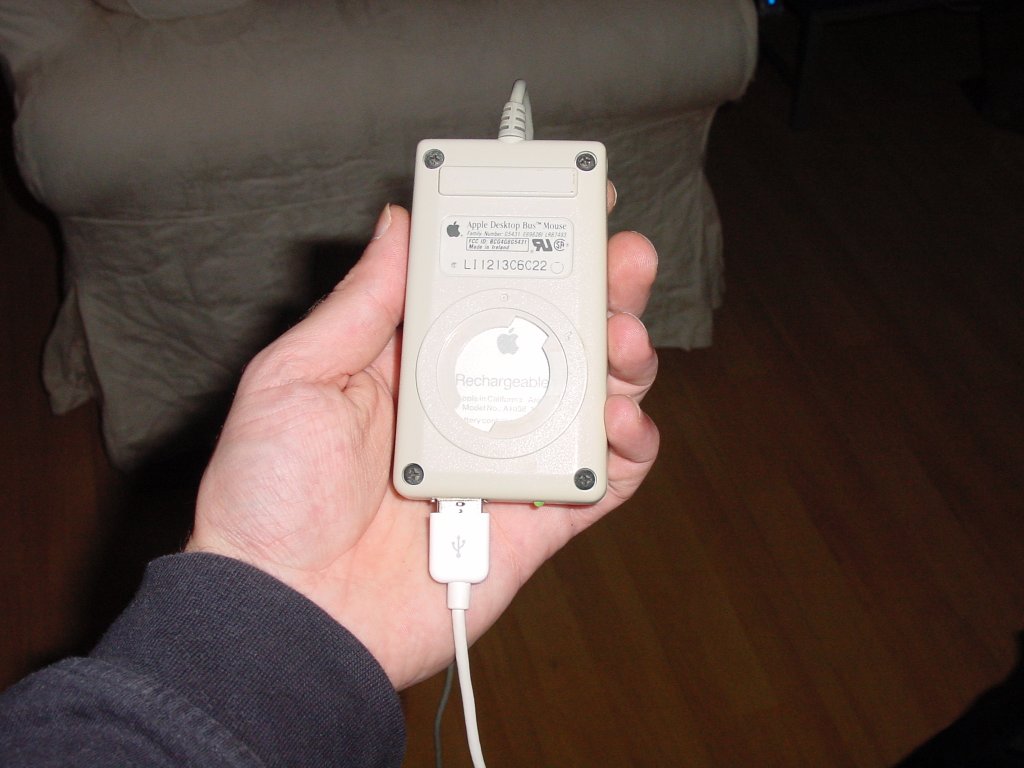
…and the backside… (yeah, I
know, I’m a sucker for details… the ‘rechargeable’ comes from an old
ibook-battery which I had laying around)
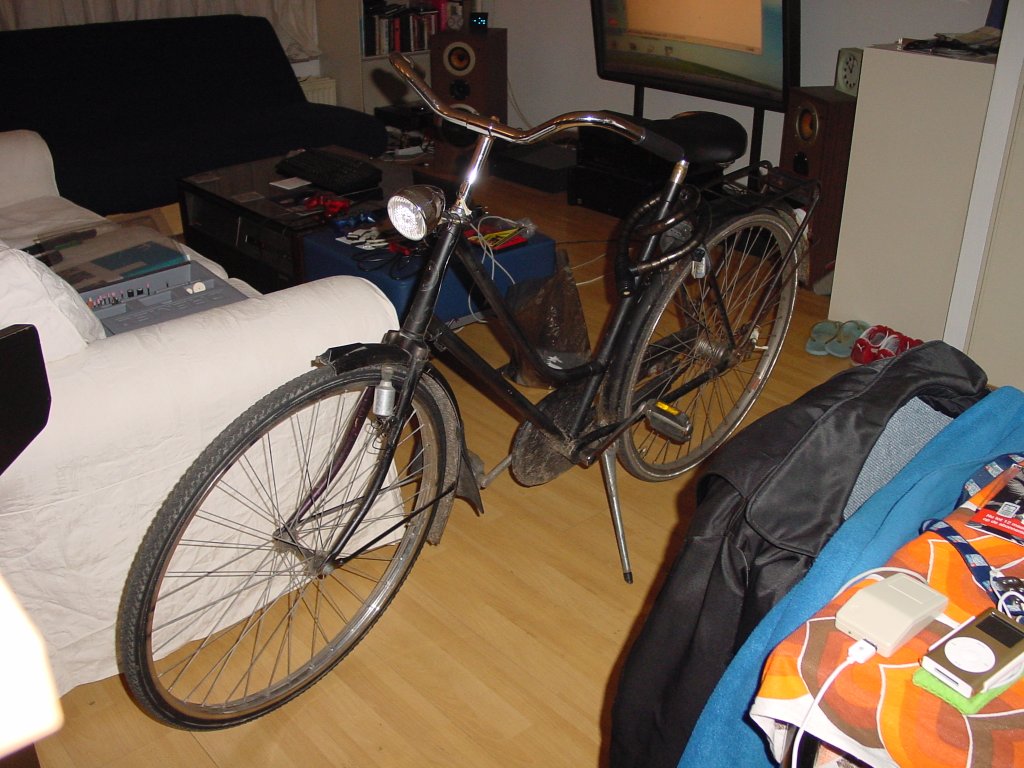
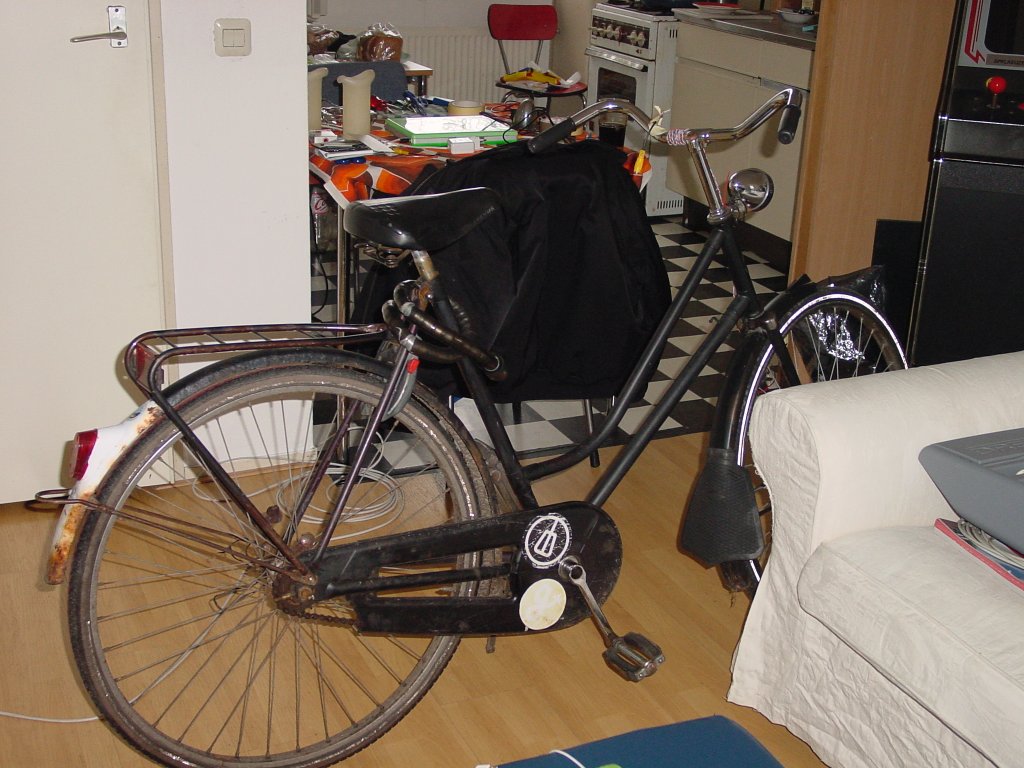
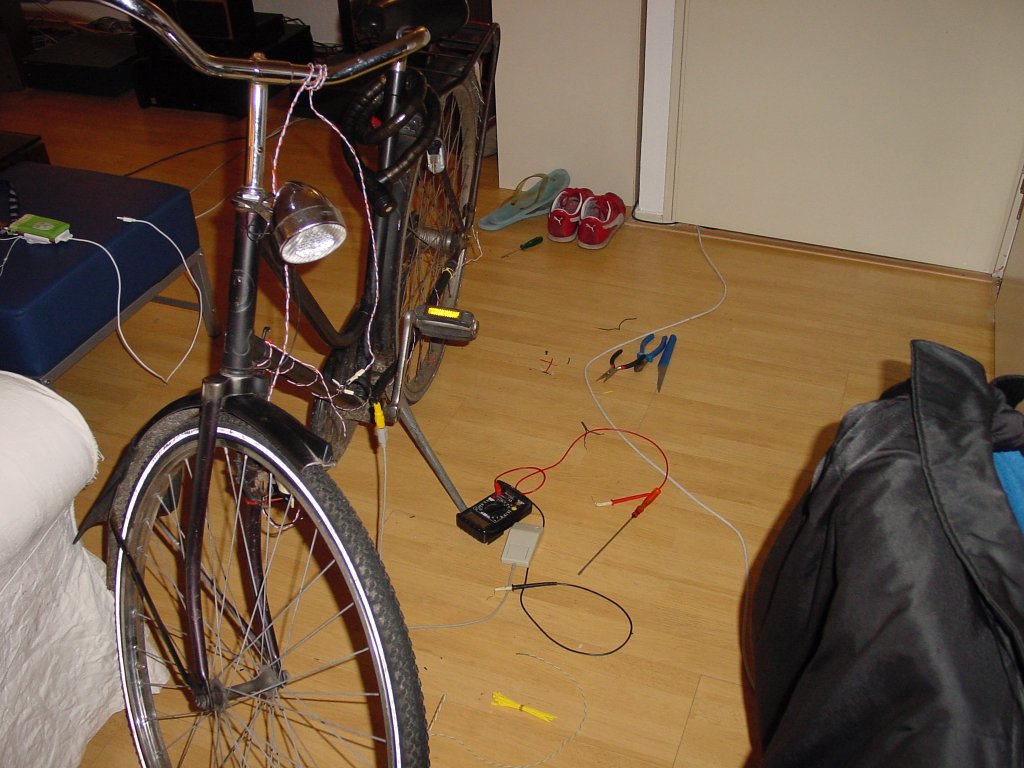
Time to get my bicycle into my livingroom!

I was eager to try this out, so I wired it up quickly, got out of the house and took it all for a spin…
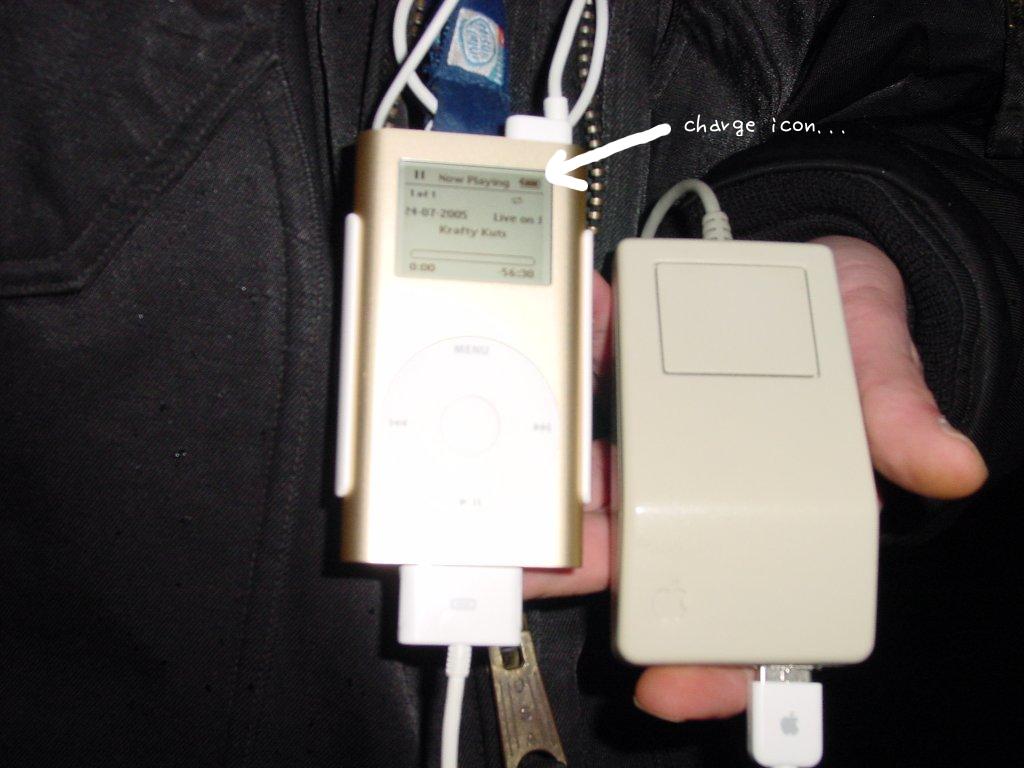
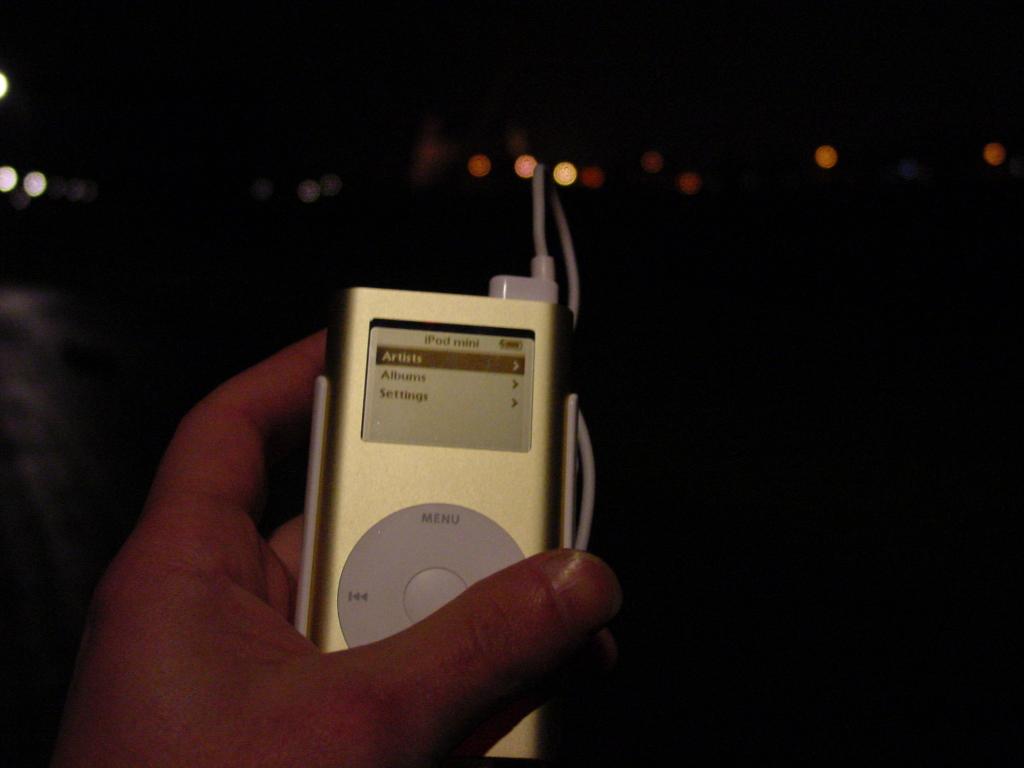
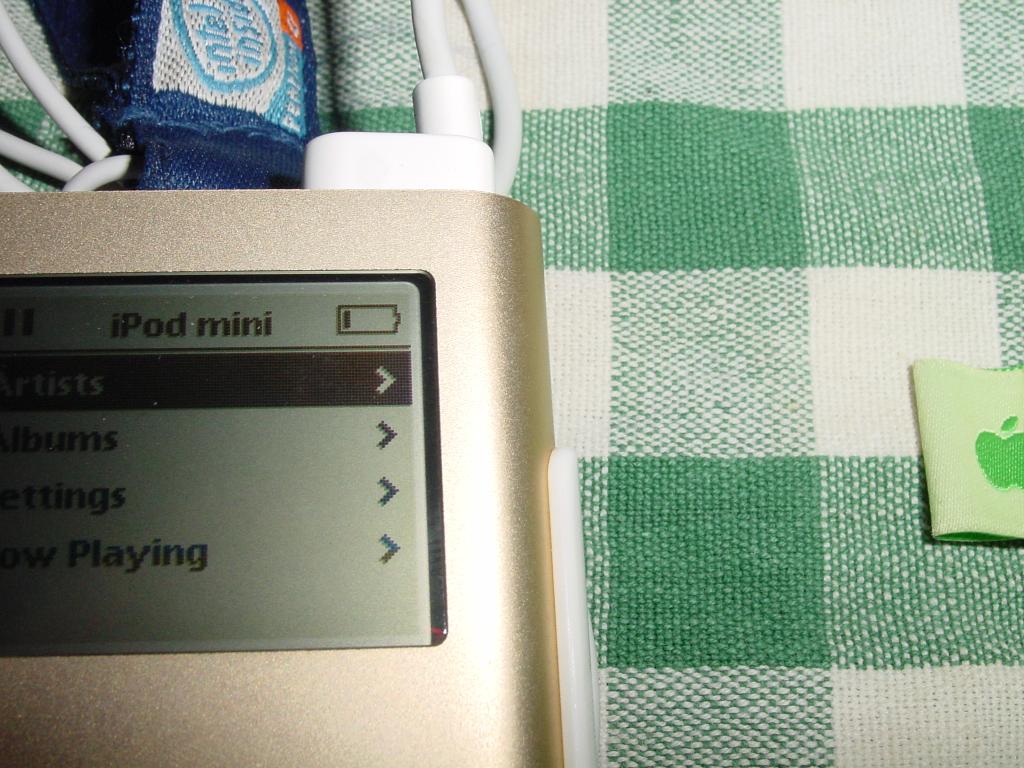
Well, look at that, we have a
charge icon… (only it seemed later on, the voltage was like, 3.5 volts,
so it probably doesn’t charge one bit…)
Time to get my bike inside again and start doing some wiring there!

…that’s braided UTP-cable I used… (I did that before once)
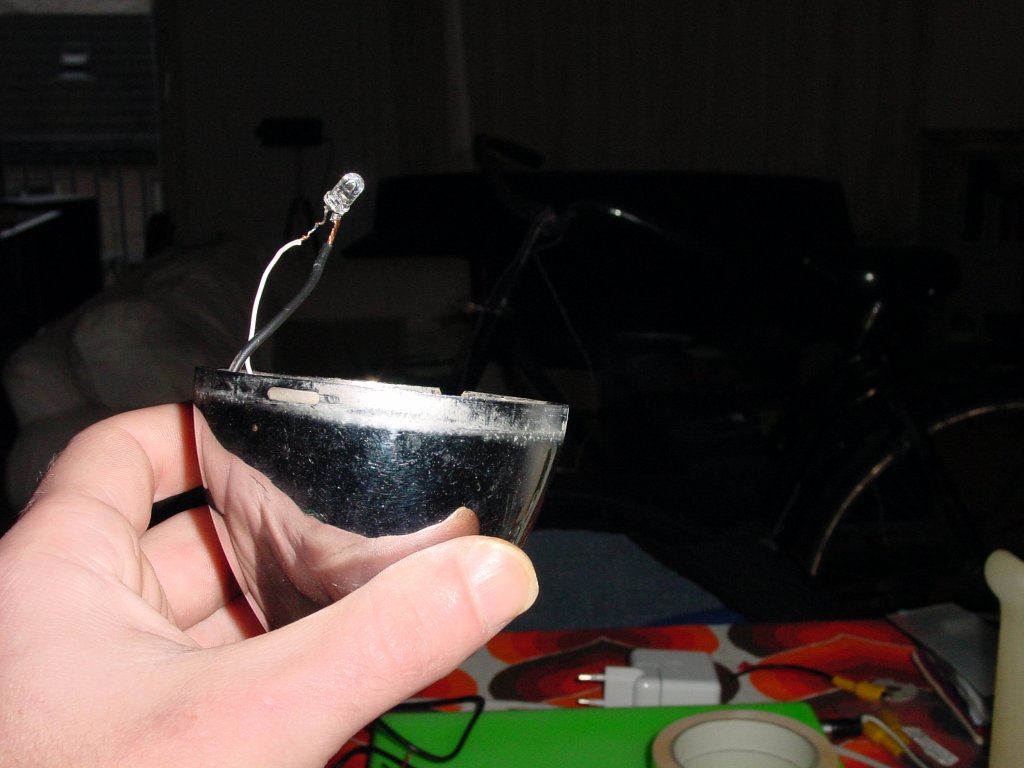
We do want some lights on our
bike, but the normal bulbs in there (6 volts, 2.4 watts) would drain
our charger in no time… so I decided to simply solder white leds in
there (the voltage on the lighting dropped from 6 to about 3 volts
because we connect it to the charger… The light of the hand-crank
flashlight gets 3 volts and it’s the same wires I use)

Tada! we have light with the click of a mouse button!
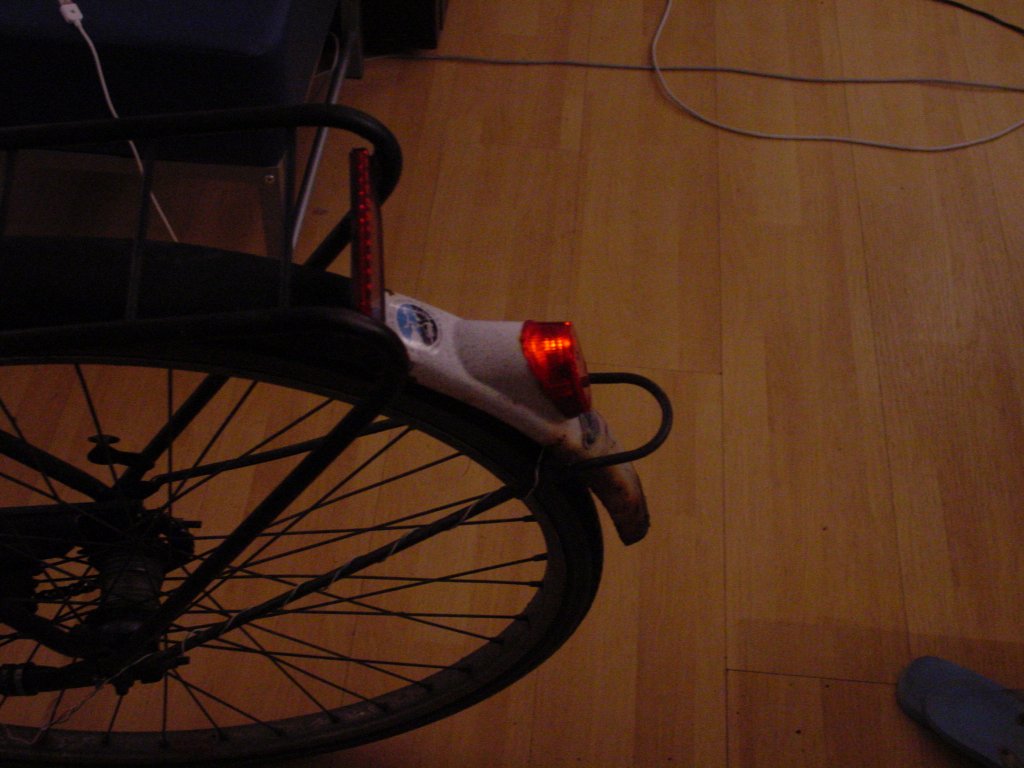
…that includes a backlight 😀
…time to tidy it all up (and get this bike out of my livingroom!)

I actually used a female
s-video-connector on the bike-side, you can perfectly put an
ADB-mouse-connector in there… (it’s exactly the same connector…)

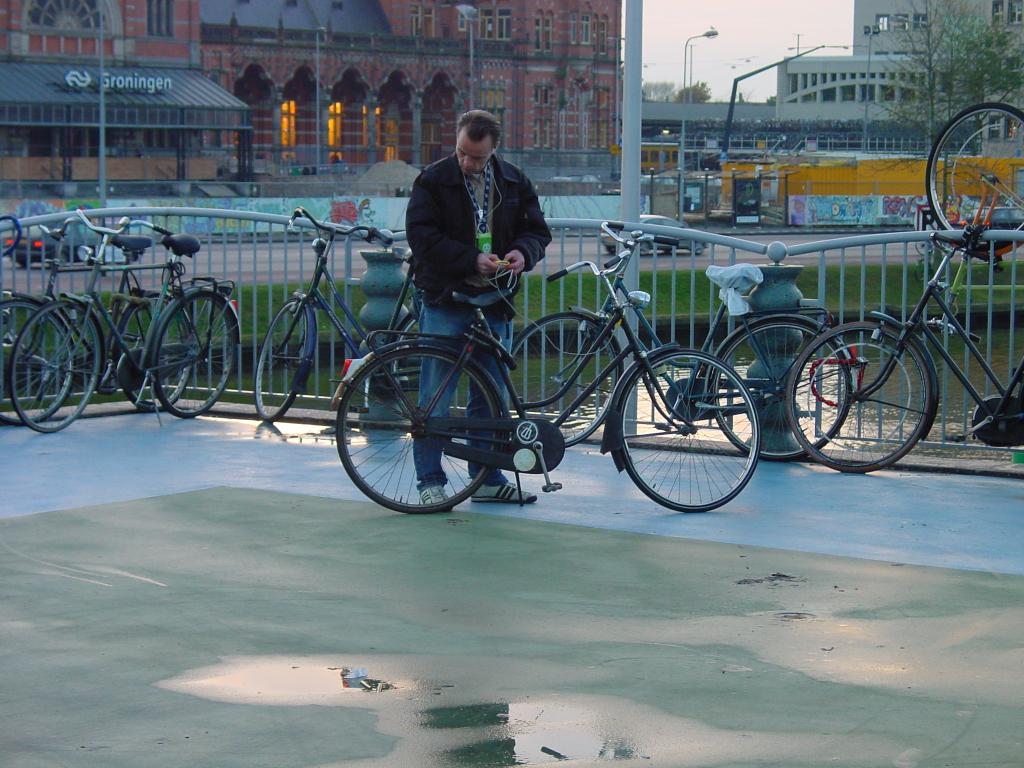
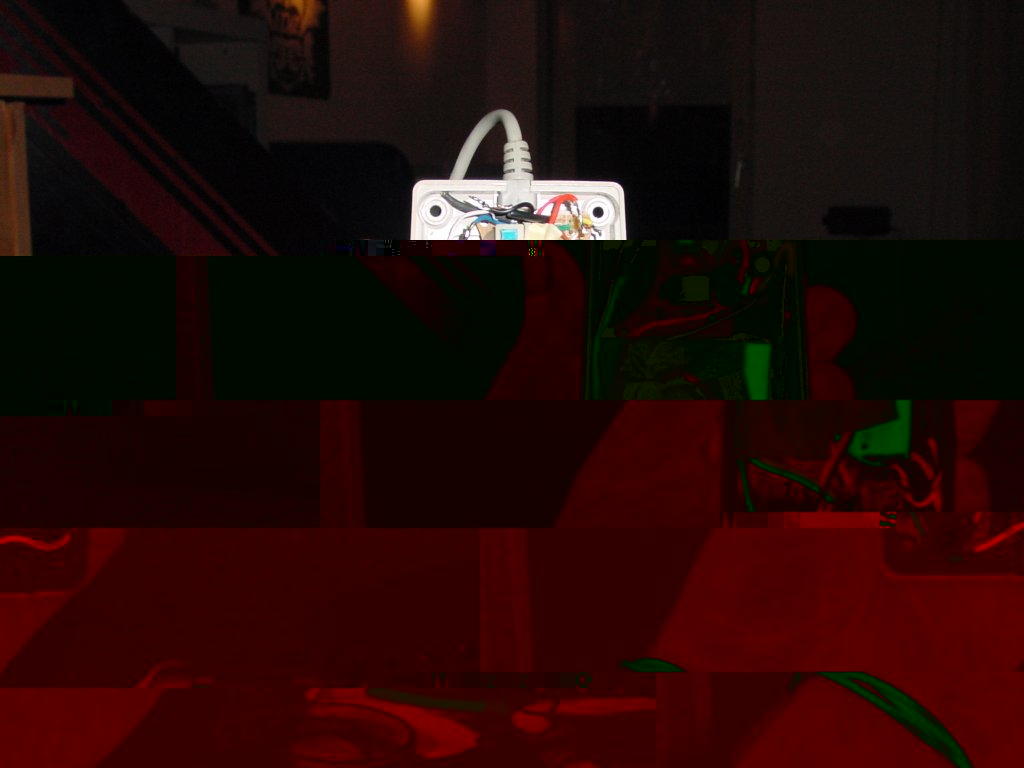
But then… I had it all
together (I thought…) but then on a middle-of-the-night testrun, it
seemed I wasn’t getting the voltage I needed… hmmmz… (this is a pic
from my phone, but that building really is curved)… back to the drawing board kitchen table…

First thing I did was, putting a lighter normal diode in there… Diodes can dissolve some volts… (excuse my language, I’m not an electrician or such)

Then it became really silly…
on the pic you can see a black and a yellow wire… originally there was
an orange and a green wire in between and when I measured my old cable,
I thought I had to connect the USB-plug to these two wires, but then I
got no voltage… So I took the easy way, took my multi-meter and
measured which wires did have some voltage… It seemed it was the one
next to the yellow wire, only about 3.5 volts. I thought that was down
because the whole thing was hardly charged, so in my first attempt I
made this charger connected to there… But the voltage didn’t get higher
than that 3.5 volts (that’s what you see on the phone pic)… Then I
measured my cable again and it really should be this yellow and black
wire… Luckily I do have another hand-crank-charger/flashlight… So I
measured that one… and then it seemed, when you connect a plug to the
charger, the two wires in between the yellow and the black one are
short-cutted, but only then! And when they are, you have around 6.2
volts in between yellow and black…
So… because the PCB was getting in a bad shape on some points (because of all the soldering/desoldering) I took two points on the PCB,
corresponding with the two points in between the yellow and black wire
and short-cutted them with a piece of wire (that’s what you see on the
pic). But then… I had no light! (but I did have a charger which gave me
4.9 volts… So, in the end, after some thinking… I decided to connect
the two points, I pointed out with arrows… the left arrow is the
downside of the switch of turning the light on/off and luckily it’s a
switch with an extra (unused) connection, which is switched when the
lighting is switched off… So, now I shortcut the two points in between
the yellow and black wire when the lighting is turned off… and then we
have a 4.9/5.0 volt USB-charger… 😀 …and when you turn on the light…
you don’t have a charger… (voltage on the USB drops to zero)… So, to be honest, that’s the only downpoint I came
across and I have to see if I can find a solution for it… But for now,
this baby is good to go! (I just have to watch for cops really
carefully when charging my ipod at night…) 🙂

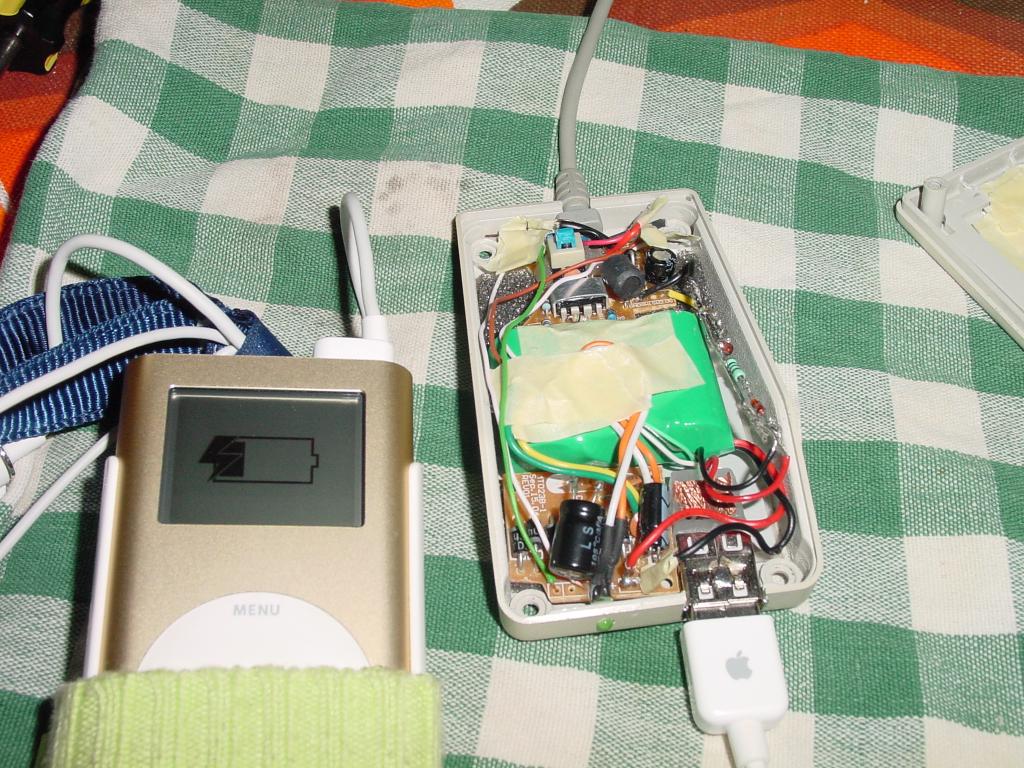
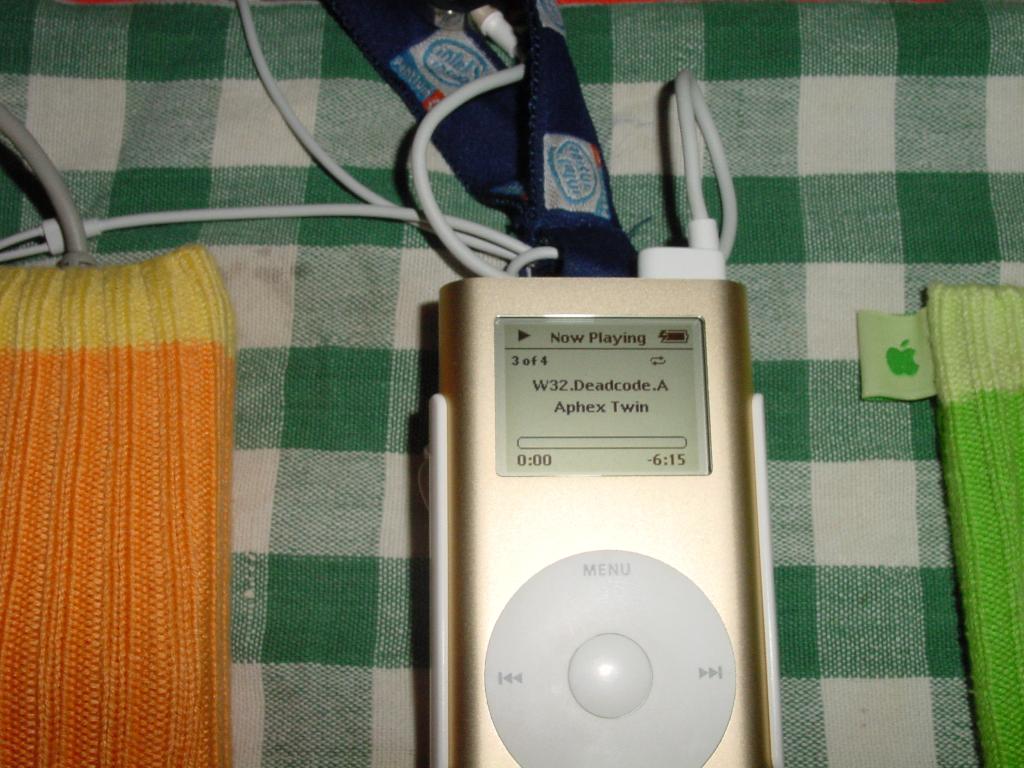
So, this is it! my ipod and my charger!
euh, wait a minute… what about those socks?
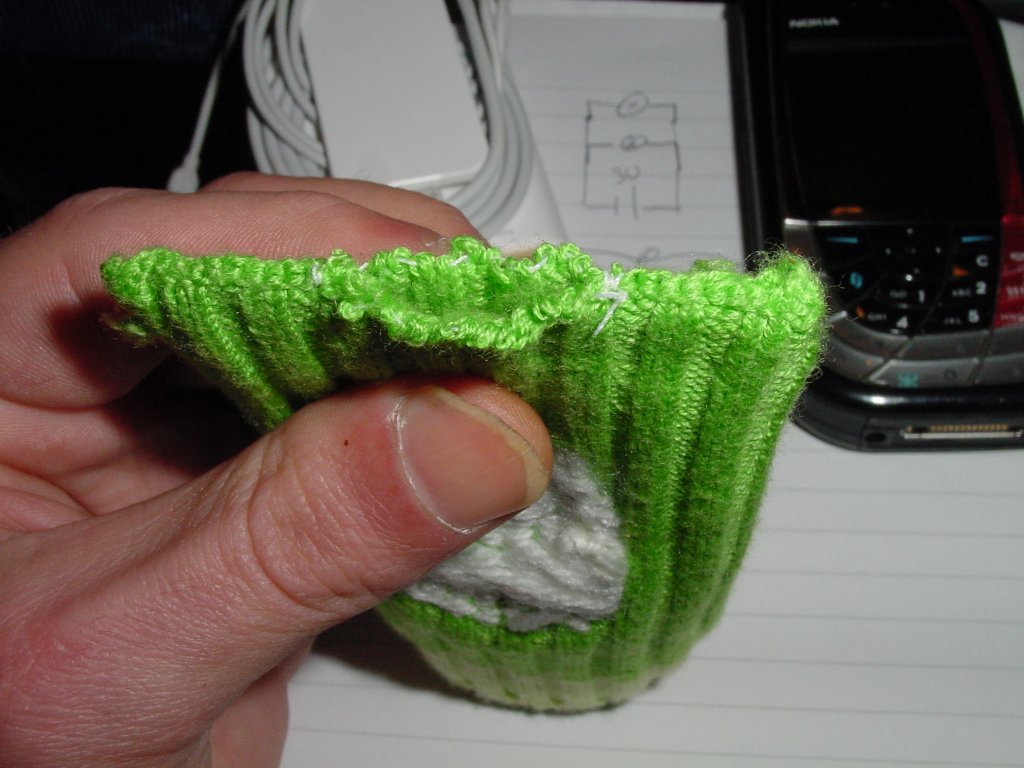
…well, I do like my skull-embroidered ipod sock and I do wanna use this charger for real… So… I made a hole in my sock (and in an orange one also, for the charger)

So… tada! my ipod and my charger… 🙂
all dressed up and no place to go we do have a place to go, cause we’re gonna do some rigid testing!
Right, well, I drained my ipod overnight (all artists -> all numbers > repeat :)
)… This way I want to see if I can get enough current from it to boot
it, charge it and hopefully it charges enough to get some usable tunes
out of it… (with my hand crank setup I had to crank for about 30
minutes to get two stripes on the battery)…
So, how does it perform?

…so I took this baby for a spin…
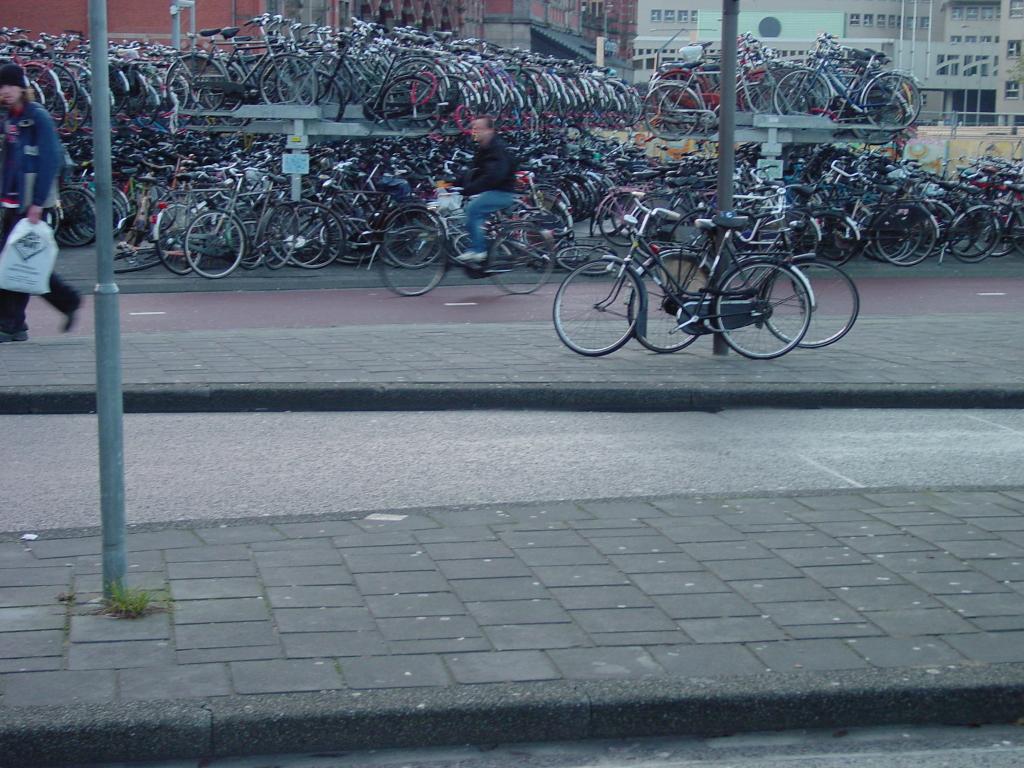
…did I already mention bicycles are a popular means of transportation overhere?
…checking it out… yep, the lights work… 🙂
Well, I had some issues with the mouse-switch on my testrun, so the lighting worked, but not the charging… hmmmmz
It seemed very simple, the
switch didn’t get properly switched (I put some tape underneath the
mouse-button, but probably too much… So I removed it, switched the
button and tada! charging… (although not booted yet)
So I took this baby for yet another spin and yes we’re in business, this thing is charging for real now 😀
…and we have a stripe on the
battery! 😀 it works! (it’s hard to say how much human energy went into
this, cause I’ve been on my bike almost all afternoon, but with my
lights on instead of charging and now it charged, probably from some
full batteries inside the charger as well as biking for about twenty
minutes 🙂 )

Well,
it’s a little too early for that, I have to do much more real-world
testing. In a real world my ipod never gets drained to the bottom, so I
have to see how this thing is gonna charge on a daily basis and I will
be testing that the coming days/weeks. I travel to my work on my bike,
in the morning I can charge my ipod, in the evening I have to use my
lights… 😀
added some overview pictures (I got actually asked for this by journalists 😀 )


Anyways, I’m open for suggestions, if you have something to say, please do…
Nguồn: http://geektechnique.org/projectlab/511/how-to-make-a-bike-charger-for-your-ipod

Bình luận về bài viết này